
Have you ever planted flower bulbs by digging dozens of holes into the ground by the fistful, and in the end, accomplished sore hands, frustration, or doubt about whether you spaced them evenly? There is a better way to do it, I promise you.
You can plant flower bulbs in a trench using egg cartons as a guide. It’s easy and fast! This technique will allow you to plant flower bulbs in perfectly straight, evenly spaced rows easily and quickly.
No bending holes, trying to remember the correct spacing, or guessing. This is how I plant all my spring and summer bulbs.
The Reason I Decided to Use Egg Cartons and Trenches for Bulbs

The first time I planted tulips, I did it all the “right” way. I dug a zillion holes with a trowel, tried to space the bulbs as well as I could by eye, and then kept stepping back to see if I was planting in a straight row.
I was pooped by the time I finished, and in spring, the blooms were slightly uneven anyway.
The next fall, I planted the trench/egg carton way, half out of laziness. I had a bunch of empty cardboard egg cartons right in the kitchen that I’d been faithfully saving for the garden.
I decided to see how the cartons would work with trenches. What struck me was how much easier the whole process was.
Instead of exhausting myself planning out where each bulb should go, I just set the cartons into the trench and plopped a bulb in each depression. So easy. So clean.
So emotionally rewarding. And the next spring, my row of tulips bloomed in near-perfect spacing. I haven’t looked back.
Why This Egg Carton Planting Method Works
Planting bulbs properly means two things: planting them at the right depth and spacing them evenly.
The usual way of planting bulbs requires measuring each spot, which can be tiresome and less accurate. The egg carton planting method addresses both issues simultaneously because:
- The egg cartons will naturally decompose in the soil, so there’s no need to remove them.
- The cups are already evenly spaced, so there’s no need to measure.
- A trench ensures that all bulbs are planted at the same depth.
- This planting method is faster when planting multiple bulbs.
Regardless of whether you’re planting a curved border or a straight cut flower garden, this planting method ensures that your bulbs will grow evenly and well.
What You’ll Need
Before you begin, you’ll need the following materials:
- Cardboard egg cartons (not plastic or waxed)
- A spade or garden shovel
- Flower bulbs
- Garden soil or compost mix
- Water
Remember: You can only use cardboard or paper egg cartons. Plastic or styrofoam egg cartons won’t decompose and can damage the roots of the bulbs.
Step-By-Step: How to Plant Flower Bulbs using the Egg Carton Trench Method

1. Choose the Right Location
Find a sunny area with well-draining soil because bulbs will rot in soggy soil. Full sun with well-draining soil will provide the right environment for tulips, crocus, and daffodils to produce beautiful blooms.
2. Dig a Trench
You’ll want to dig a straight trench in the location you’ve chosen to be the right depth for planting your bulbs. A good rule of thumb is to plant bulbs at a depth that is two to three times their height.
For example:
- 6-8 cm: Crocus and grape hyacinths
- 12-15 cm: Tulips and daffodils
- 10-12 cm: Hyacinths
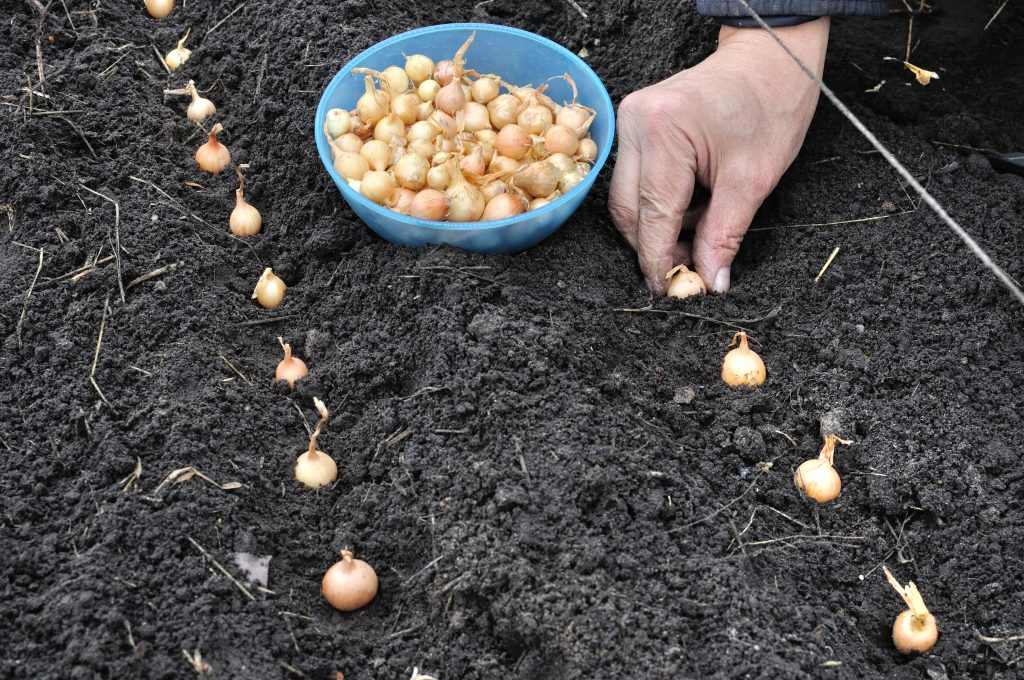
Dig a trench long enough to hold the number of bulbs you wish to plant.
3. Place Egg Cartons in the Trench
Place the egg cartons flat into the trench where you will be planting your bulbs. Each cup of the egg carton is a slot for planting a bulb.
If you need more slots, simply place additional egg cartons into the trench.
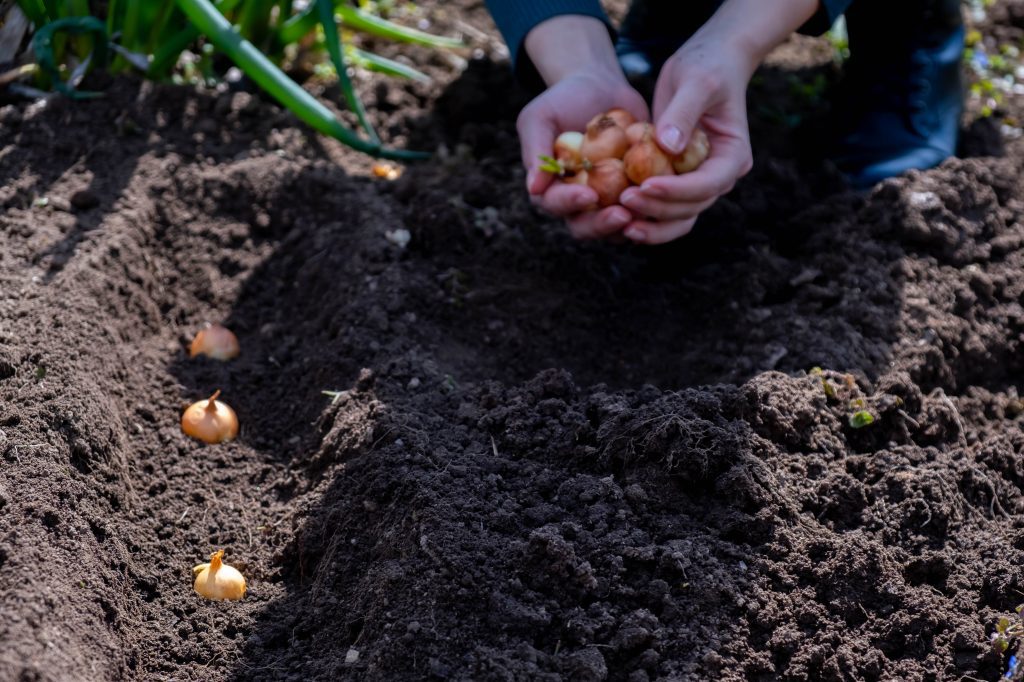
4. Put One Bulb in Each Cup

It is important that you put one bulb in each cup of the milk carton, with the pointed part facing upwards. This will make it easy for the shoots to grow upwards.
In case you are not sure which part of the bulb is facing upwards, do not worry; plant the bulb sideways because bulbs are intelligent enough to know how to grow.
5. Fill in Soil
Carefully cover the trench as well as the milk cartons with soil. Lightly pack the soil to fill up any gaps around the bulbs.
Your bulbs are now evenly and properly spaced and have reached their required depth for blooming.
6. Water Well
Give the planted area a good soaking. This will help the soil to settle in around the bulbs and will also help in the proper development of the roots.
After the first watering, only give water when the soil is extremely dry, as constantly moist soil can cause the bulbs to rot.
A Tiny Tweak With Great Impact
On the inaugural occasion I implemented this method, I hastily dug the trench and failed to ensure it was level.
Thus, a couple of the boxes of flowers had a slight tilt. Come spring, the flowers were gorgeous, but I could see a few variations in their height as they grew, depending on the varying soil depth.
Ever since, I have been careful to take just a bit more time to make sure the bottom of the trench is level before nestling in the boxes of flowers.
This tiny tweak has a significant impact on how well the flowers grow and look when they blossom.
What Kind of Bulbs to Use With This Planting Method
You can use almost any medium or small flowering bulb. Spring bulbs are the most common, and some of the most stunning choices include:
- Tulips – Nothing says spring better.
- Daffodils (Narcissus) – Some of the most fuss-free blooms you can plant.
- Crocus – Absolutely perfect for injecting some early color into the garden.
- Hyacinths – By far the most fragrant of all spring bulbs.
- Snowdrops – Some of the earliest spring blooms.
- Grape hyacinths (Muscari) – The cutest little spring clusters you ever did see.
Summer-blooming varieties such as gladiolus, freesia, ranunculus, and dwarf lilies are also suitable with this method.
Just be sure to check the depth and spacing instructions that came with your bulbs and plant each one according to the hole or trench method recommended for your specific bulb type.
For very large bulbs (like giant alliums or oversized lilies), you will want to plant them in the recommended single-hole method rather than the trenching method.
The Bulbs I’ve Had Most Success With

I’ve had the best results using this method with smaller bulbs, like grape hyacinths and crocus, which would be a tedious pain to plant one by one.
Since I plant them in clusters for pops of color, it’s super convenient to just pop them in and plant a new cluster where I laid out the next egg carton.
I’ve also used this egg carton method with daffodils, my all-time favorite spring bulb, because the critters tend not to eat them.
Daffodils line a border along my path, and the egg cartons made my border look more intentional and less haphazard.
Professional Advice to Achieve Beautiful Blooms

This advice will ensure your bulbs grow beautifully every season:
1. Select Strong Bulbs
Always choose bulbs that are not soft and do not have any mold. Bulbs that are soft or have begun to shrivel will not produce nice blooms.
2. Plant at the Right Time

Plant spring bulbs in the fall so they may be exposed to the necessary cold period. Also, plant summer bulbs in the soil after the danger of frost has passed.
3. Improve Your Soil
If you have heavy or clay-like soil, work some compost and leaf mold into the soil before planting your bulbs for better drainage and nutrition.
4. Apply Mulch
A light layer of straw or dry leaves over newly planted bulbs helps maintain even soil temperatures and also decreases competition from weeds.
5. Wait to Cut Foliage
Do not cut the green foliage off your bulbs immediately after they bloom. Allow the leaves to turn yellow and dry, as the foliage helps the bulb gather energy for flowers in the following year.
Common Mistakes to Avoid
Even a low-fuss hack like this can be troublesome if you’re not cautious:
- Use plastic cartons — they don’t decompose and might obstruct roots.
- Plant too close to the surface — bulbs require proper depth to thrive and multiply.
- Overwater during the dormant season — bulbs will deteriorate in overly-moist conditions.
- Plant in heavy, clayey soil — it’s hard for bulbs to take root unless you amend the drainage.
- Include squishy bulbs — compost them first.
Learning to Let Good Enough Be Good Enough
When it comes to bulb planting, I’ve discovered that things don’t have to be perfect. If a bulb is spaced too closely or more shallowly than directed by the envelope, there’s a pretty good chance it will still send up foliage and flowers eventually.
The pretty egg carton has helped me to not overthink the process and, instead of fussing over measurements, simply enjoy the act of planting.
It’s easier to do when you learn to let a good enough system nudge out your inner drive to perfect, correct, and perfect some more.
Here’s Why This Method Makes Gardening Easier
Sure, using an egg carton trench to plant bulbs is cool. But are you just playing with an efficient process? For us, that process is more than just a time-saving hack. Egg cartons make planting bulbs simple, fast, and exact.
There’s no need for specialized gear. No tape measure, no precision required. Just a trench, some household items, and some good bulbs-and you can make it.
Here’s a no-fuss, no-stress method that is really simple for beginners to get great results.
Here’s Why This Method Suits My Garden Style
I’m all about luscious (informal-looking) gardens. The egg carton trench approach suits this style really nicely. It adds just the right amount of order, without getting too fussy about details.
For me, it’s not about ticking rows! It’s about making planting easier. If my old egg carton (or other kitchen throwaway) can help me do it more quickly, easily, and with better results, then I am winning.
It’s Peanut Size Piece- but often it is the little tricks that get the best results with our gardens.
Final Thoughts: Let’s Make It Easier to Plant Flower Bulbs
Perhaps you have avoided planting bulbs because it seems like too much work or too finicky. Trust me, if you plant flower bulbs using this technique, you will be done with planting bulbs before you even get started the next time.
Trench planting using an egg carton is fast, simple, virtually idiot-proof, and fun, to boot.

Do You Have Any Questions About Planting Flower Bulbs?
Whether you’re giving the egg carton hack a go this year or you’re taking a chance on flower bulbs for the first time, I’d like to know how it’s working out for you. Each garden plays by its own rules based on location, soil, and light.
If you have any doubts about the planting depth, spacing, or suitability of specific bulb types in your garden, don’t hesitate to contact me via the Contact page. I may not be able to get back to you immediately, but I promise I read every query.